After completing Google Summer of Code, I submitted a lightning talk about my work at the Nextcloud Conference 2019. Moreover, I asked to participate to the volunteers team along with my mentors, Pantelis and Stathis.
It was the first time I attended a conference abroad and the first time I ever visited Berlin. It was a unique experience from which I gained a lot and I feel grateful that Nextcloud sponsored me to join the conference.
Let me share this one of a kind experience with you and hopefully inspire more people to join the Nextcloud community and attend the following Nextcloud conferences!
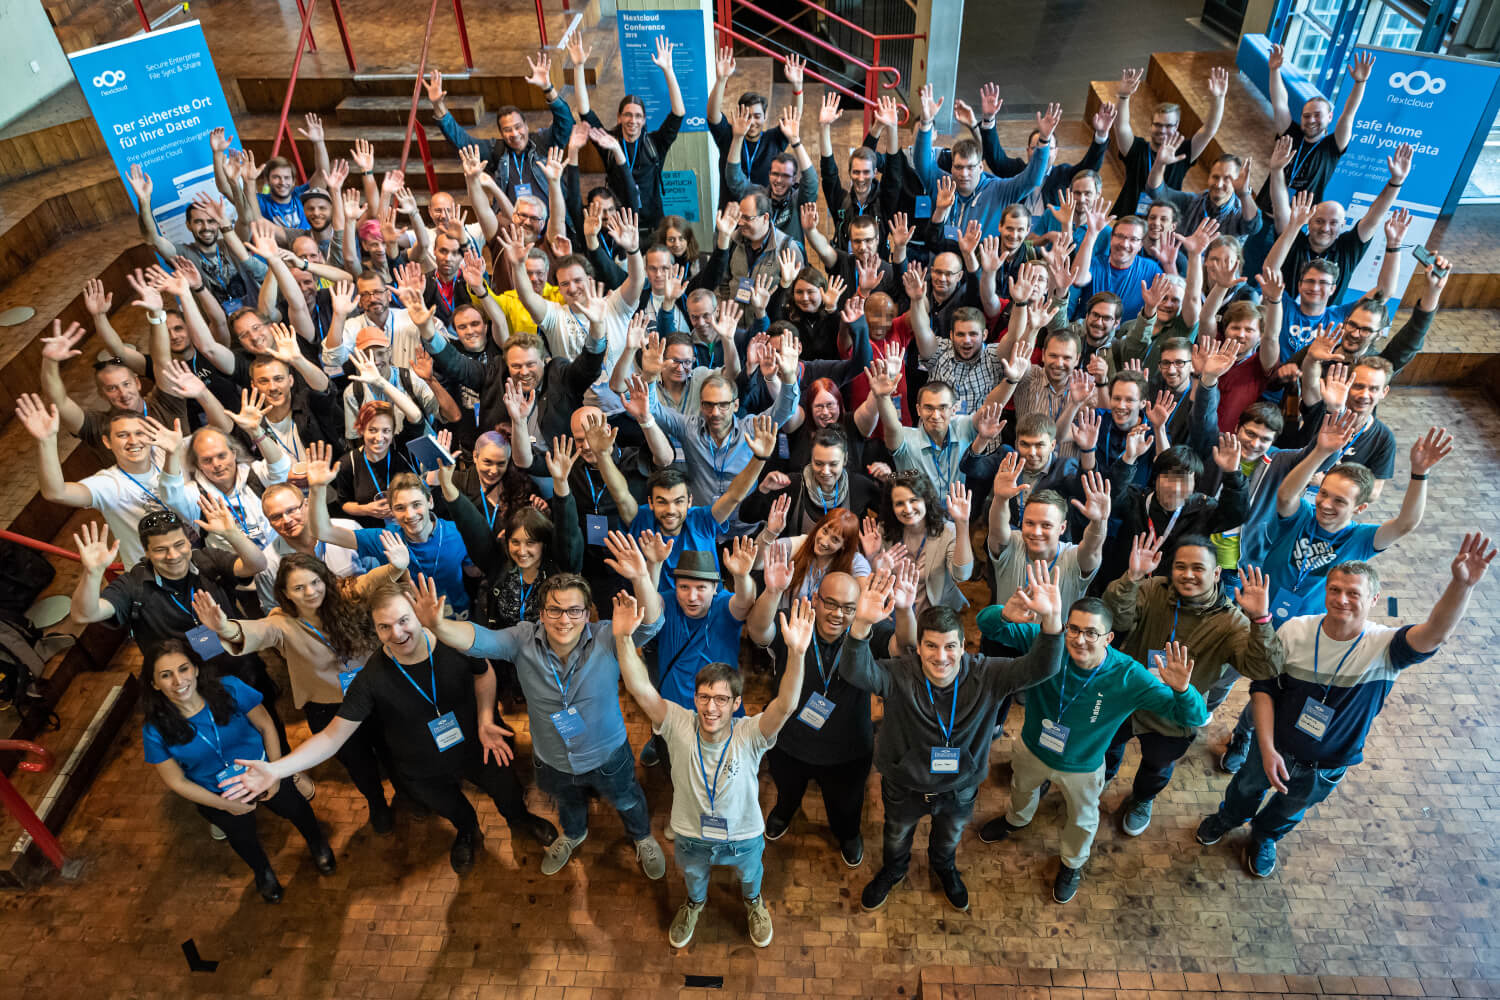
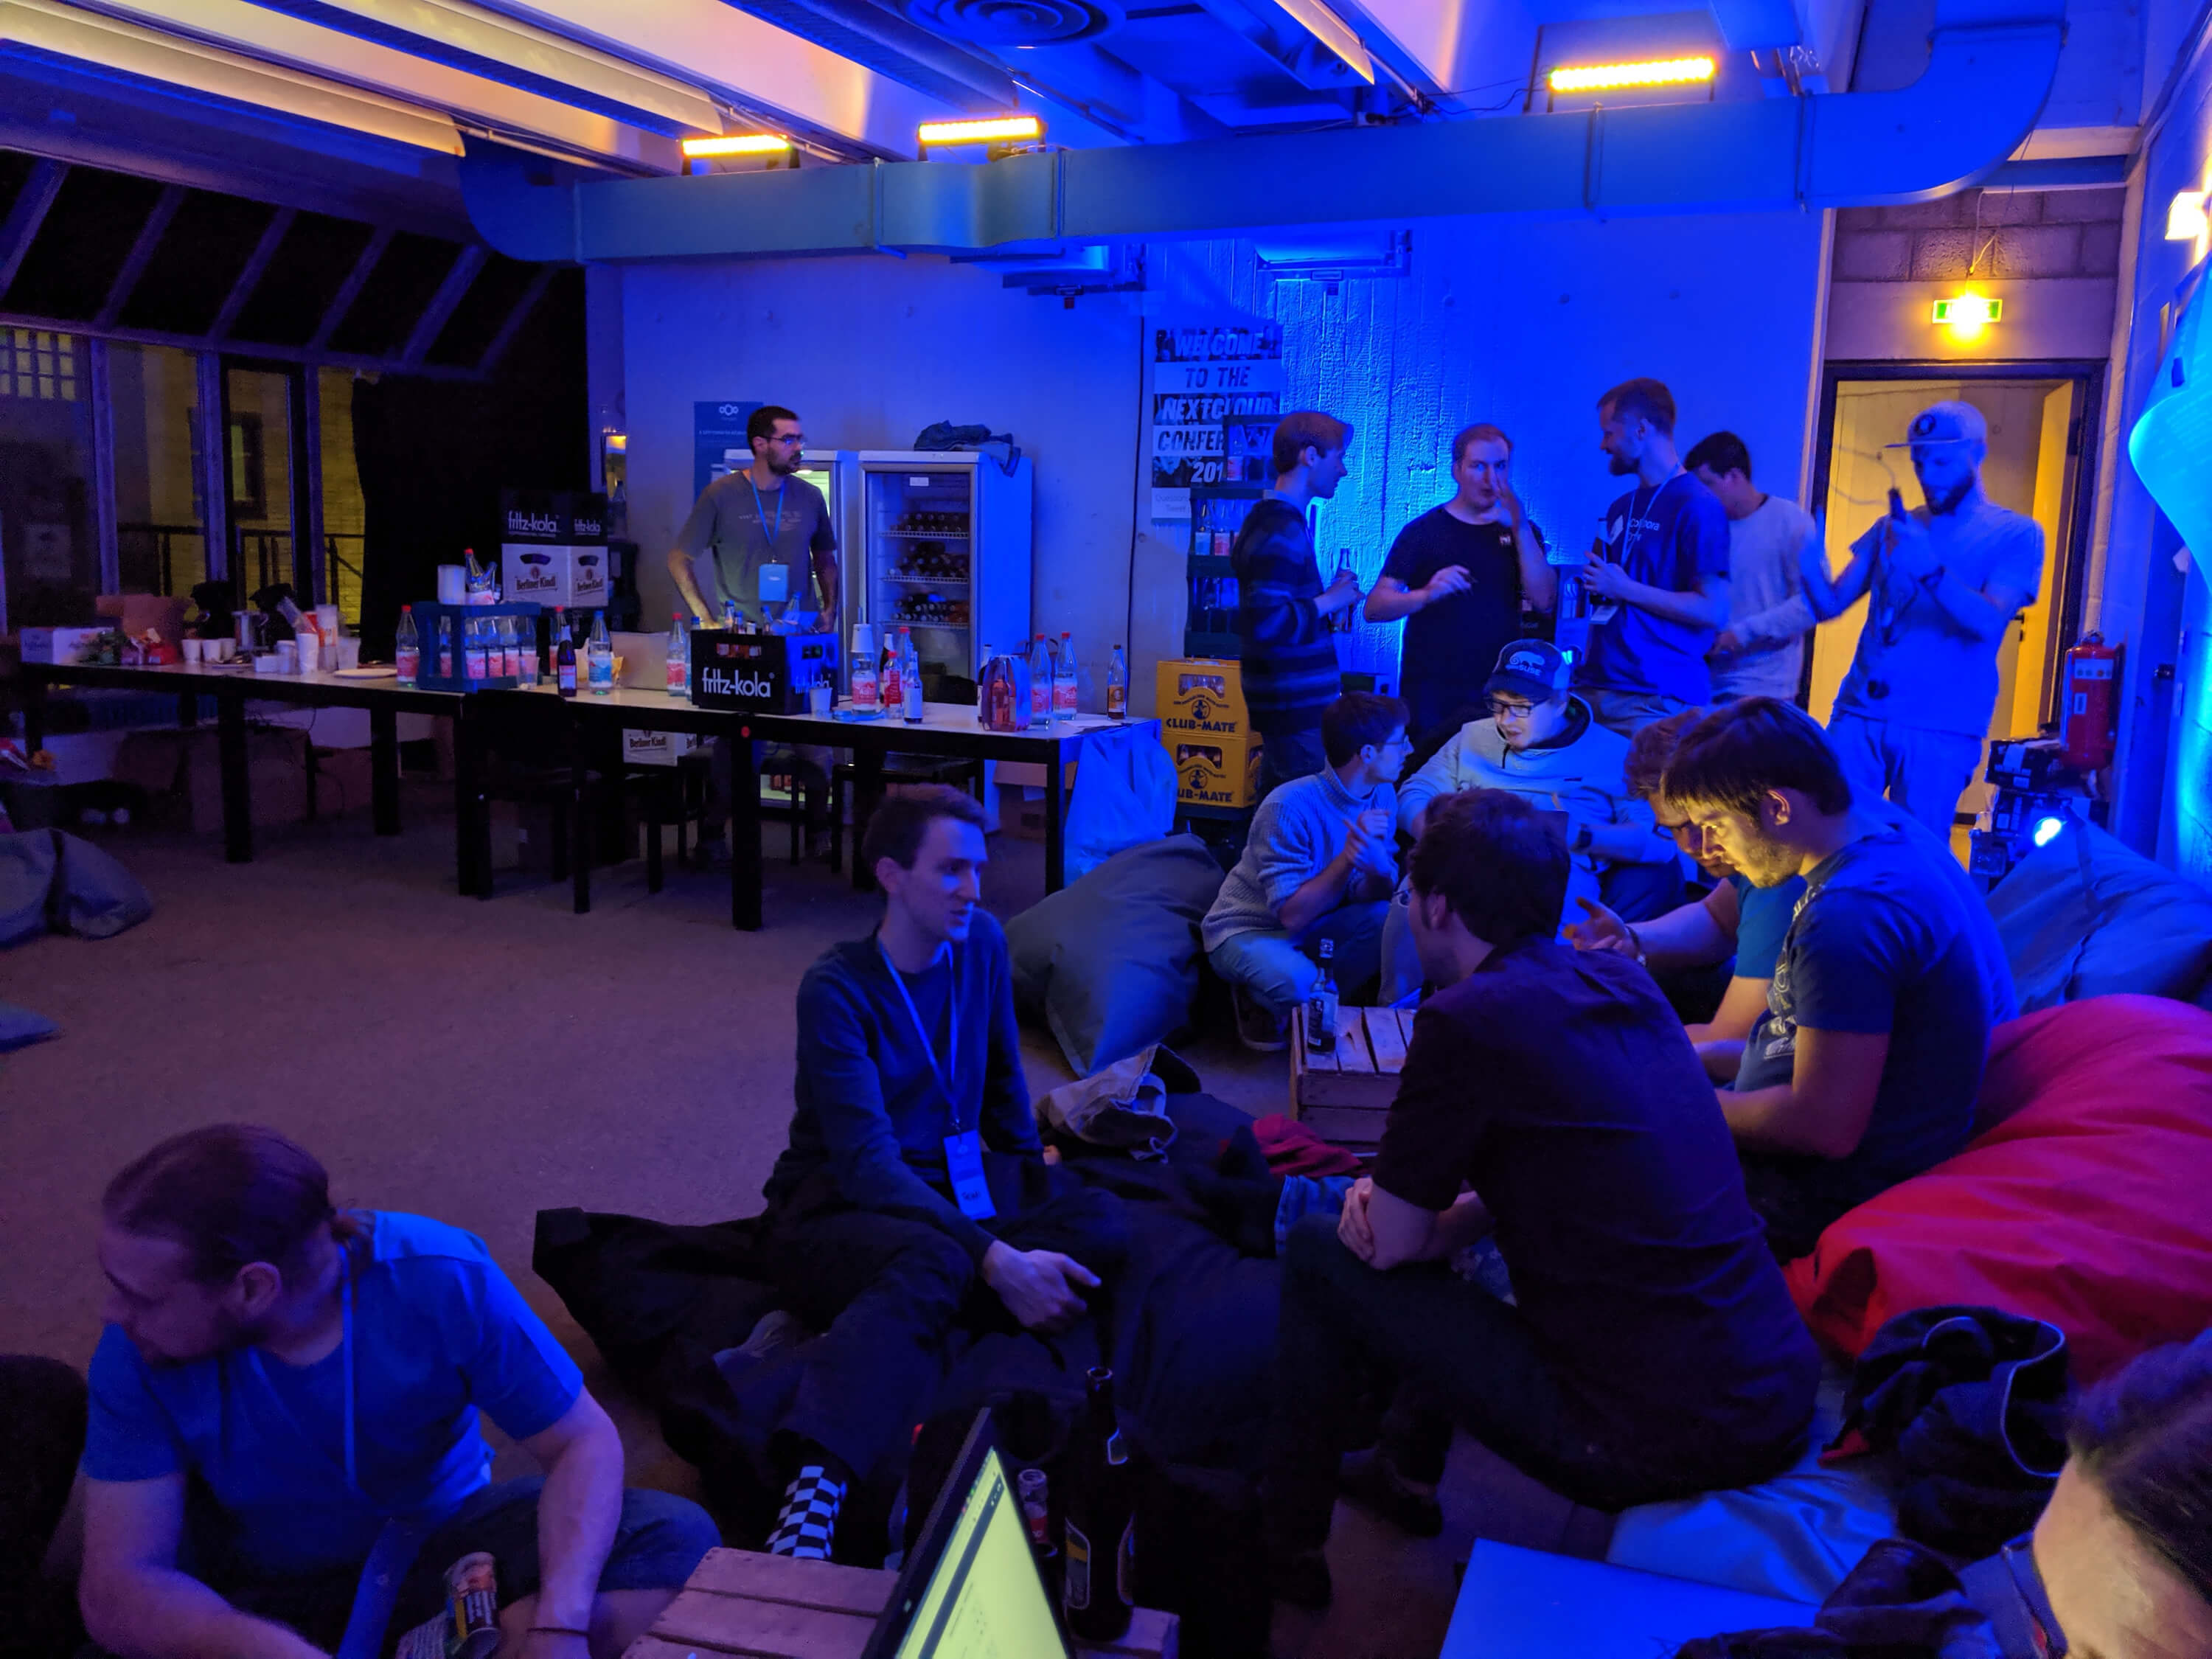
Eirini, Stathis, Pantelis and me, all Greeks, all volunteers, visited the TU Berlin to help set up the main hacking room, in any way each of us was capable of. Tables, chairs, drinks, signs, registration bags, badges etc. All set for the big registration day. This is when we first met Jos and Marinela, who welcomed us, showed us how to organize the place and helped us with our tasks. Thank you both! 🙂
As time passed, more and more Nextclouders arrived at TU Berlin. One of the parts I enjoyed most during this trip, was meeting all these awesome people, who made the newcomers like me feel like home and with whom we had some constructive conversations, technical or not, and had a great time 🙂 I have to admit, I’m inspired by them and I want to contribute to Nextcloud now more than ever!
Conference day 1 has come and all volunteers are on their shifts, exhibitors at their booths, speakers getting ready and TU Berlin is getting crowded by early in the morning.
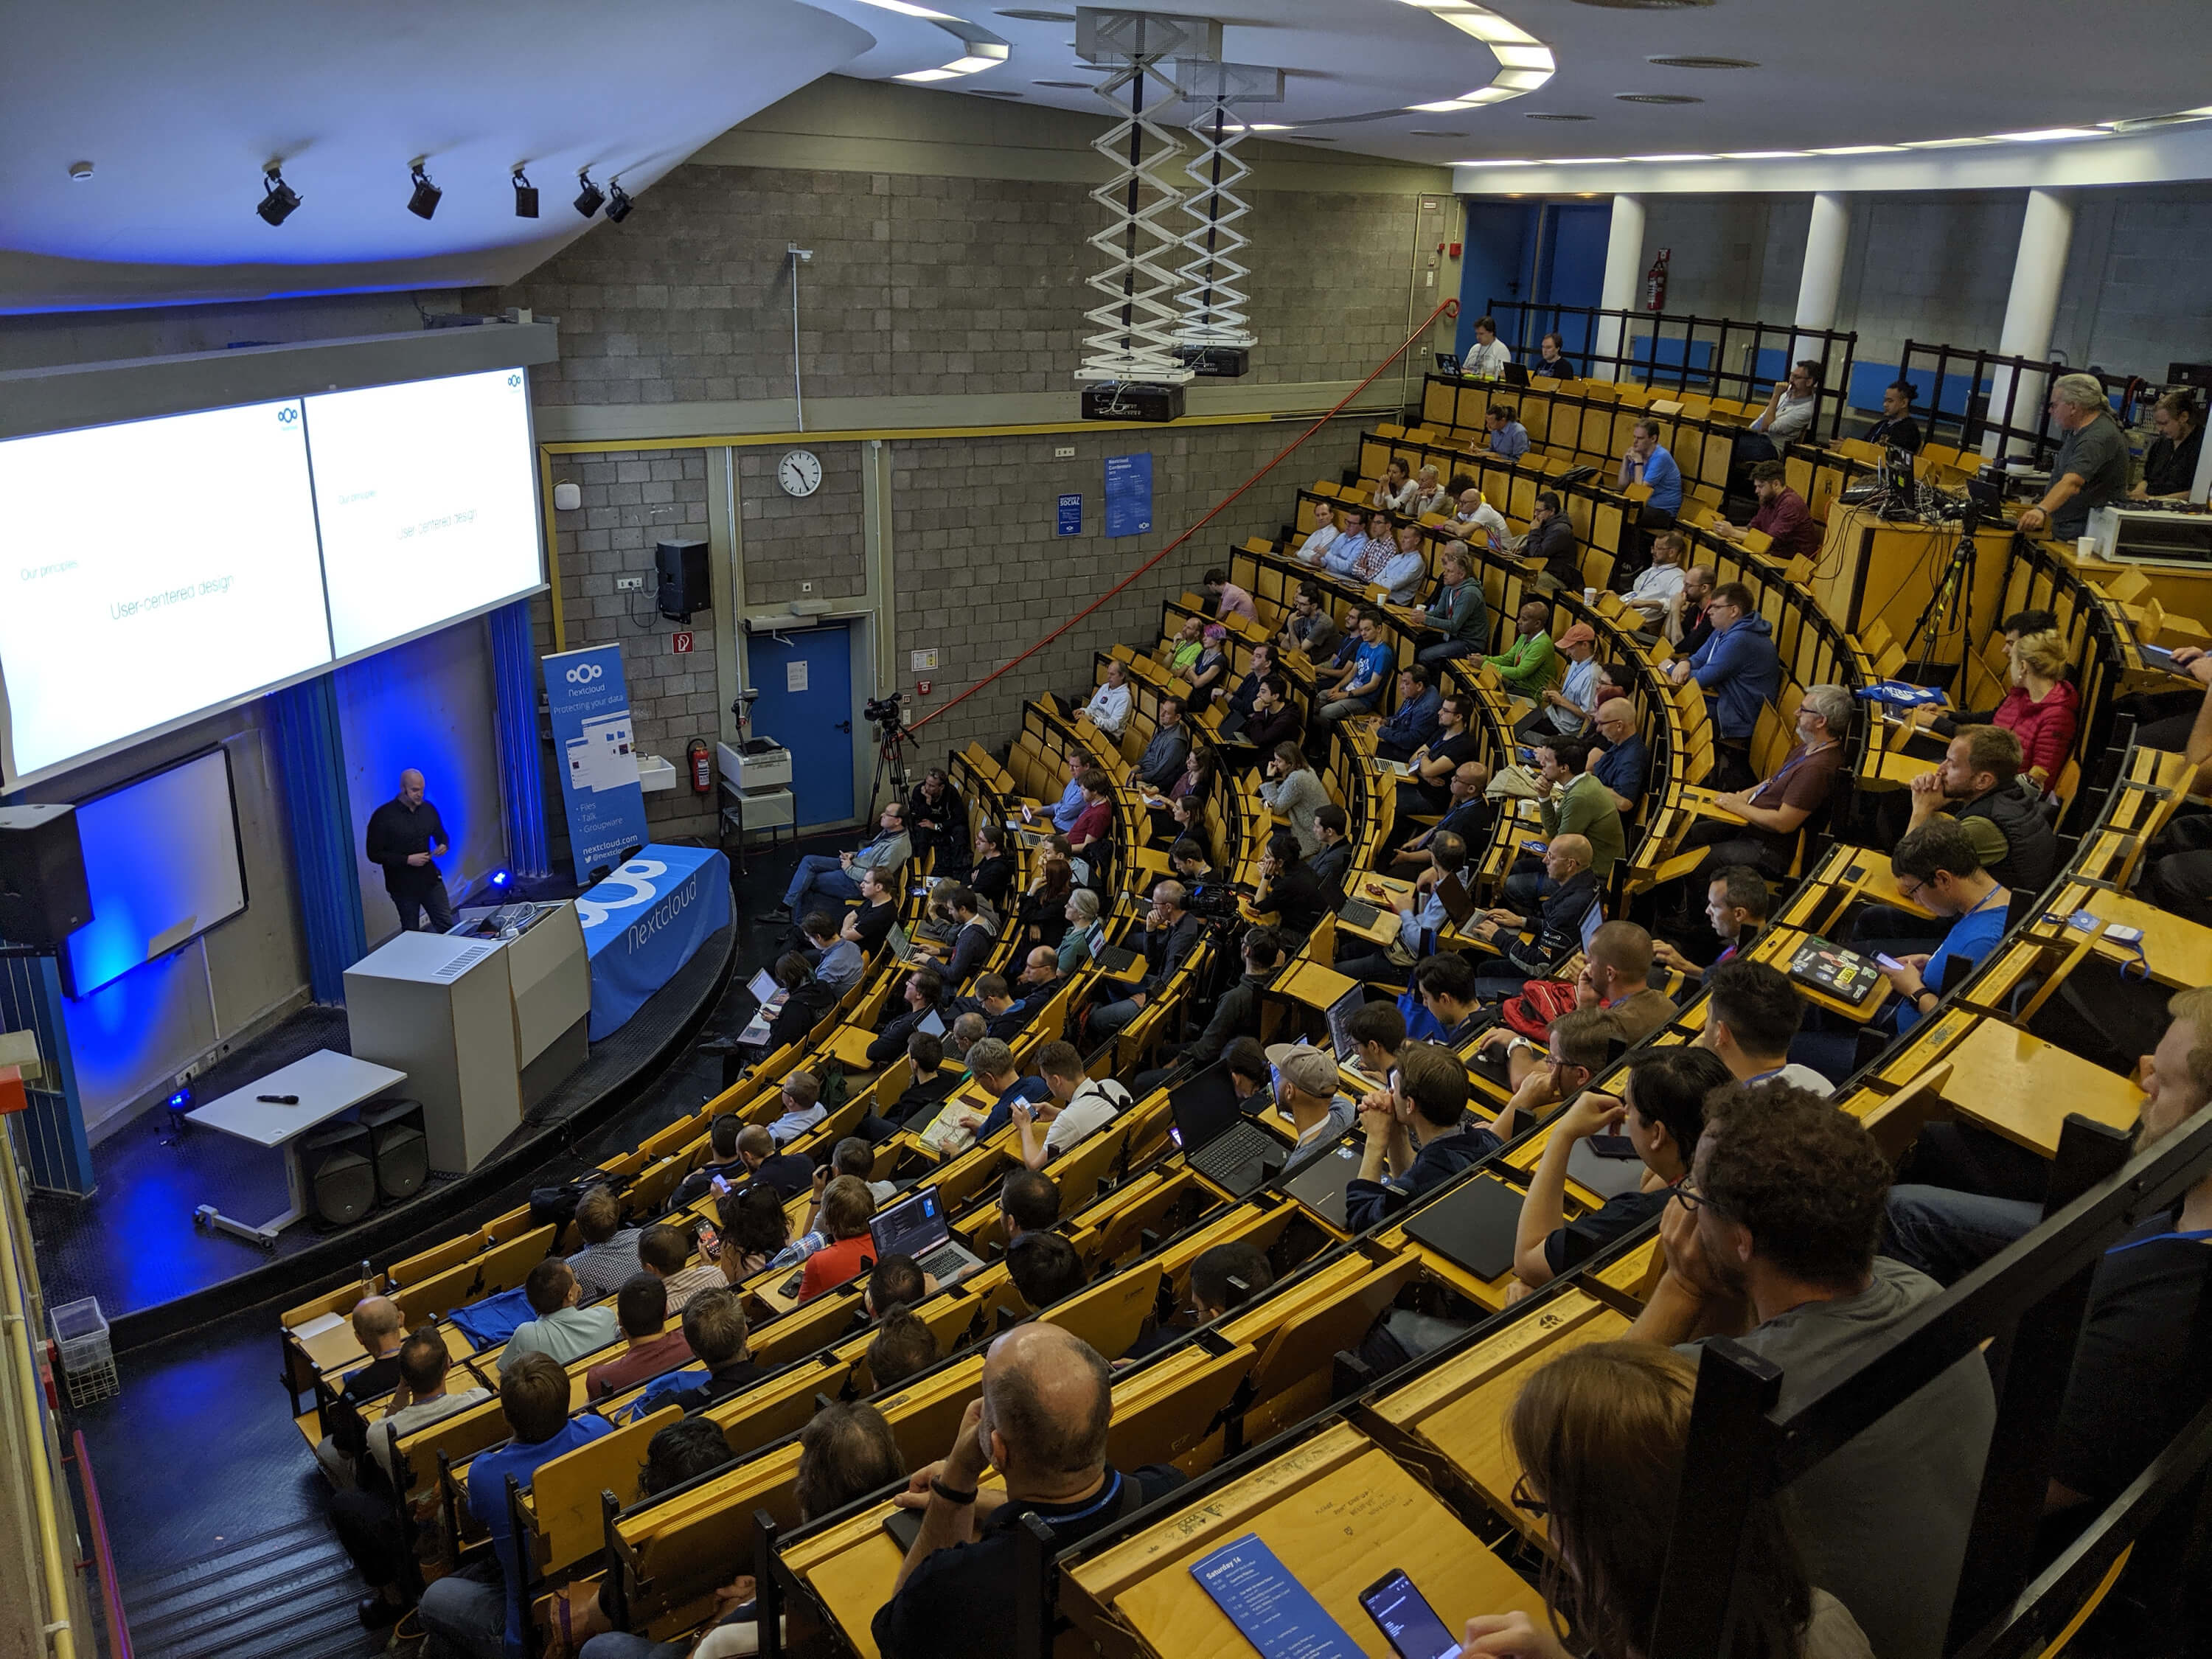
Frank Karlitschek (CEO of Nextcloud) opened the conference presenting Nextcloud 17 and the new features coming with it. The shiny new features were pretty impressive, like Remote Wipe which allows users and administrators to forcibly clean files from remote devices (e.g. in case they are stolen) or the two-factor authentication improvements about the first login and new administrator settings, regarding lost or broken second factor solution and delegating the ability to create one-time-login tokens to group administrators. Moreover, some big achievements were announced. One of them is a doubling of Nextcloud security bug bounties to USD 10.000, which means we’re talking about a solid and reliable product. Another announcement that got me, was the collaboration with IBM. Nextcloud 17 introduces IBM Spectrum Scale integration, a high-performance file system, which results in several benefits in the area of performance, scalability and storage integration. You can read more about the new features here.
Later that day, among the lightning talks, I had my 5min presentation about my work on GSoC project “Expanding NextCloudPi”, which you can read here (or watch the video at 5:31:06).
Some of the talks that stood out for me were “The Not-so-secret future” of the American activist for Freedom of Expression, Jilian York as well as the lightning talk of the investigative reporter Fredrik Laurin about “The Investigative Cloud”.
A party followed at the Tiergarten where we ate some Berlin dishes and had fun getting to know new people.
Conference day 2 was as interesting as day 1, but except for the technical talks, we listened to some talks that really broadens one’s horizons like the keynote by Renata Avila or Thomas Lohninger’s talk “Stand up and act!”. Both of these talks were breathtaking and inspiring.
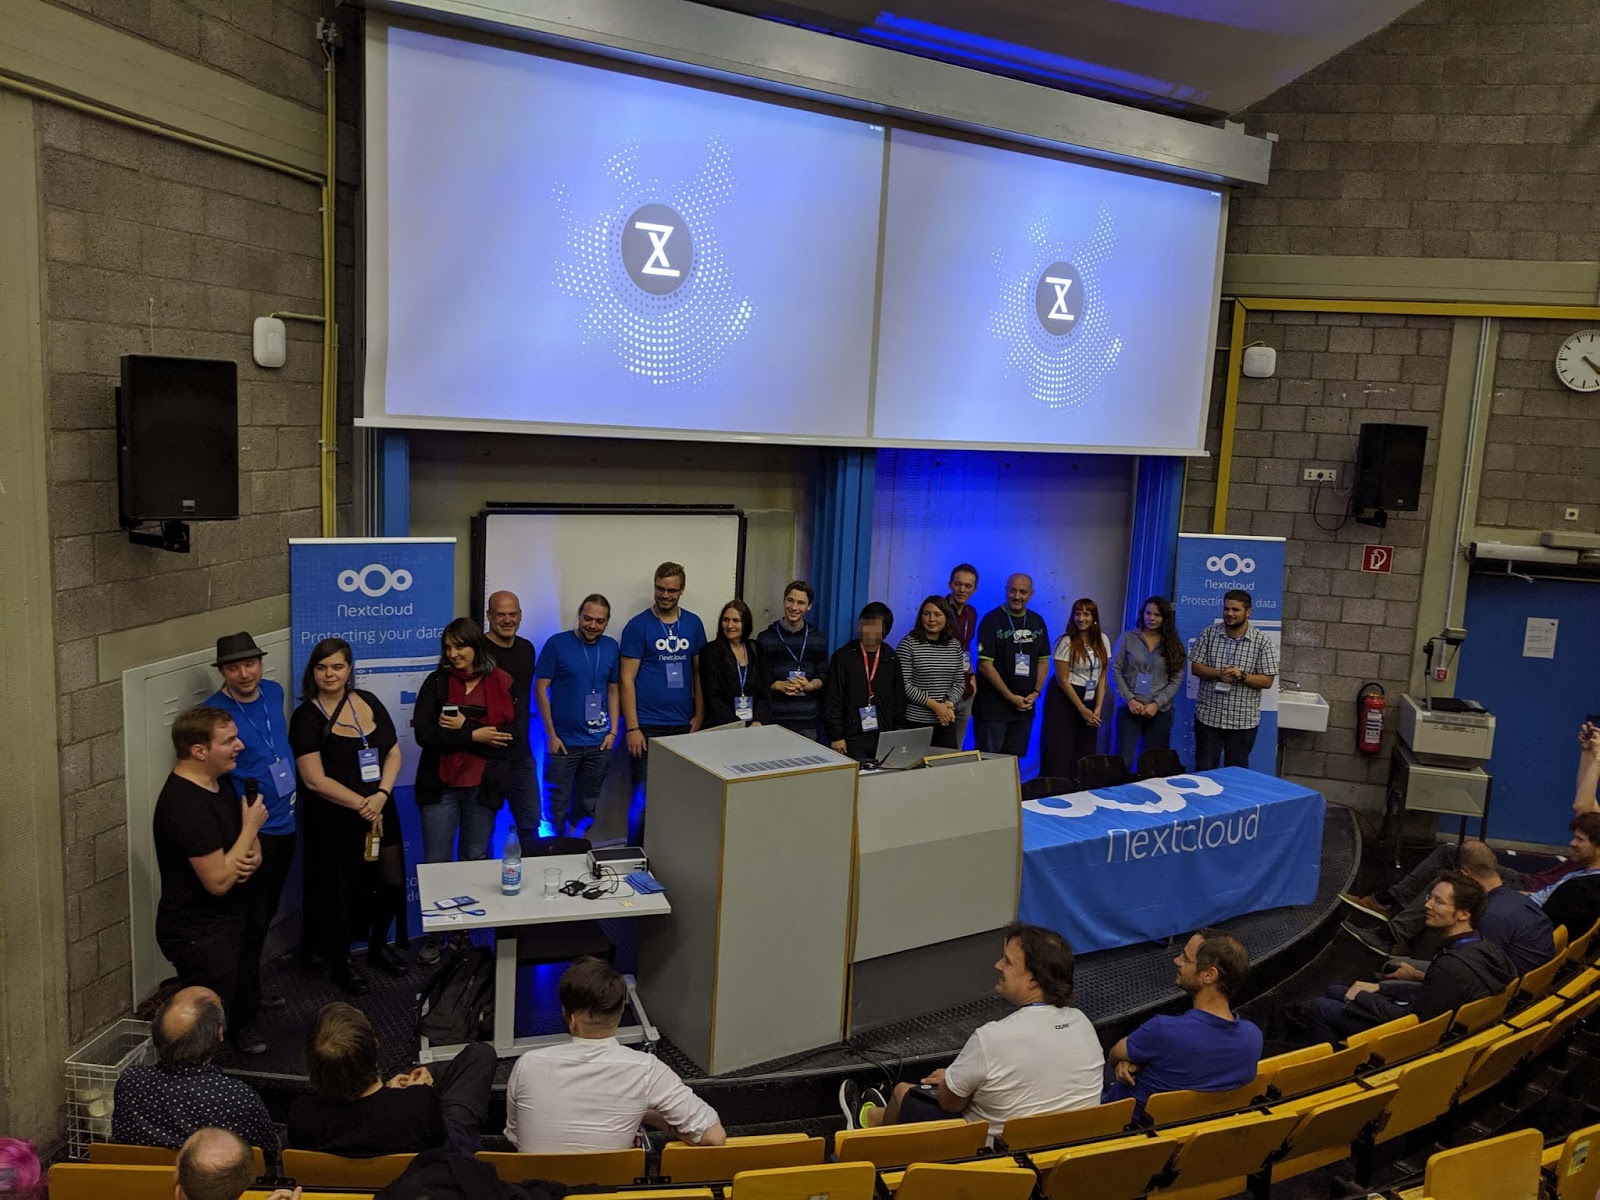
At the end, Frank and Jos thanked the volunteers and the conference was officially over.
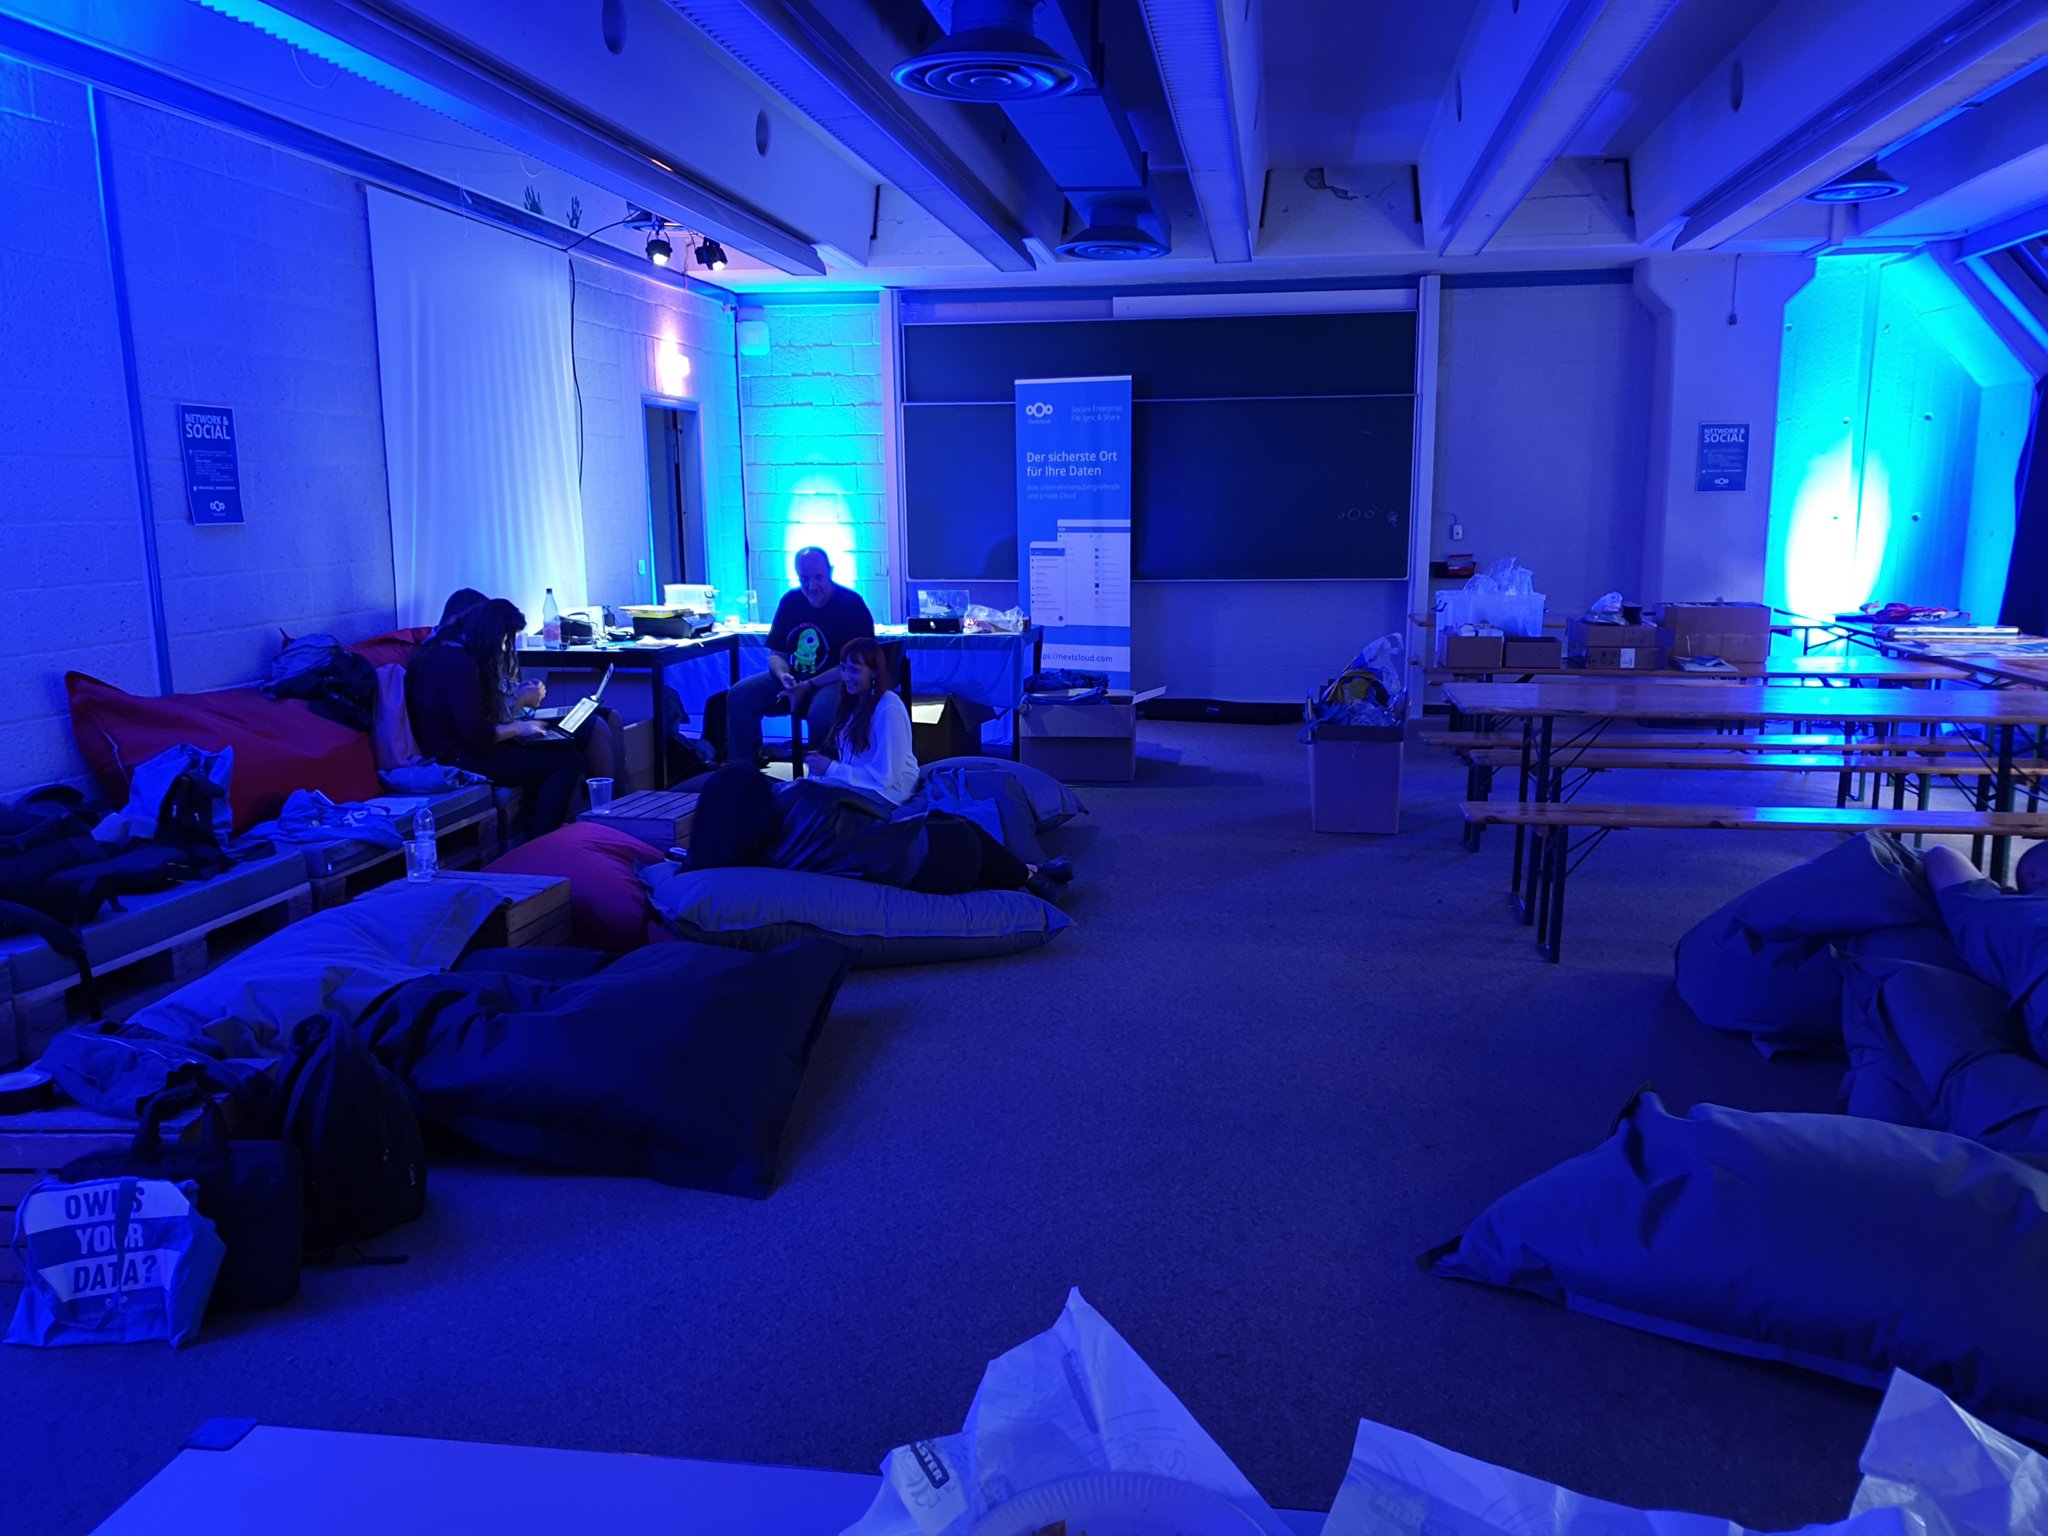
The rest of the days, a Hack Week took place at the lounge where Nextcloud employees, along with everyone who was willing to hack, shared ideas about Nextcloud and worked together on projects.
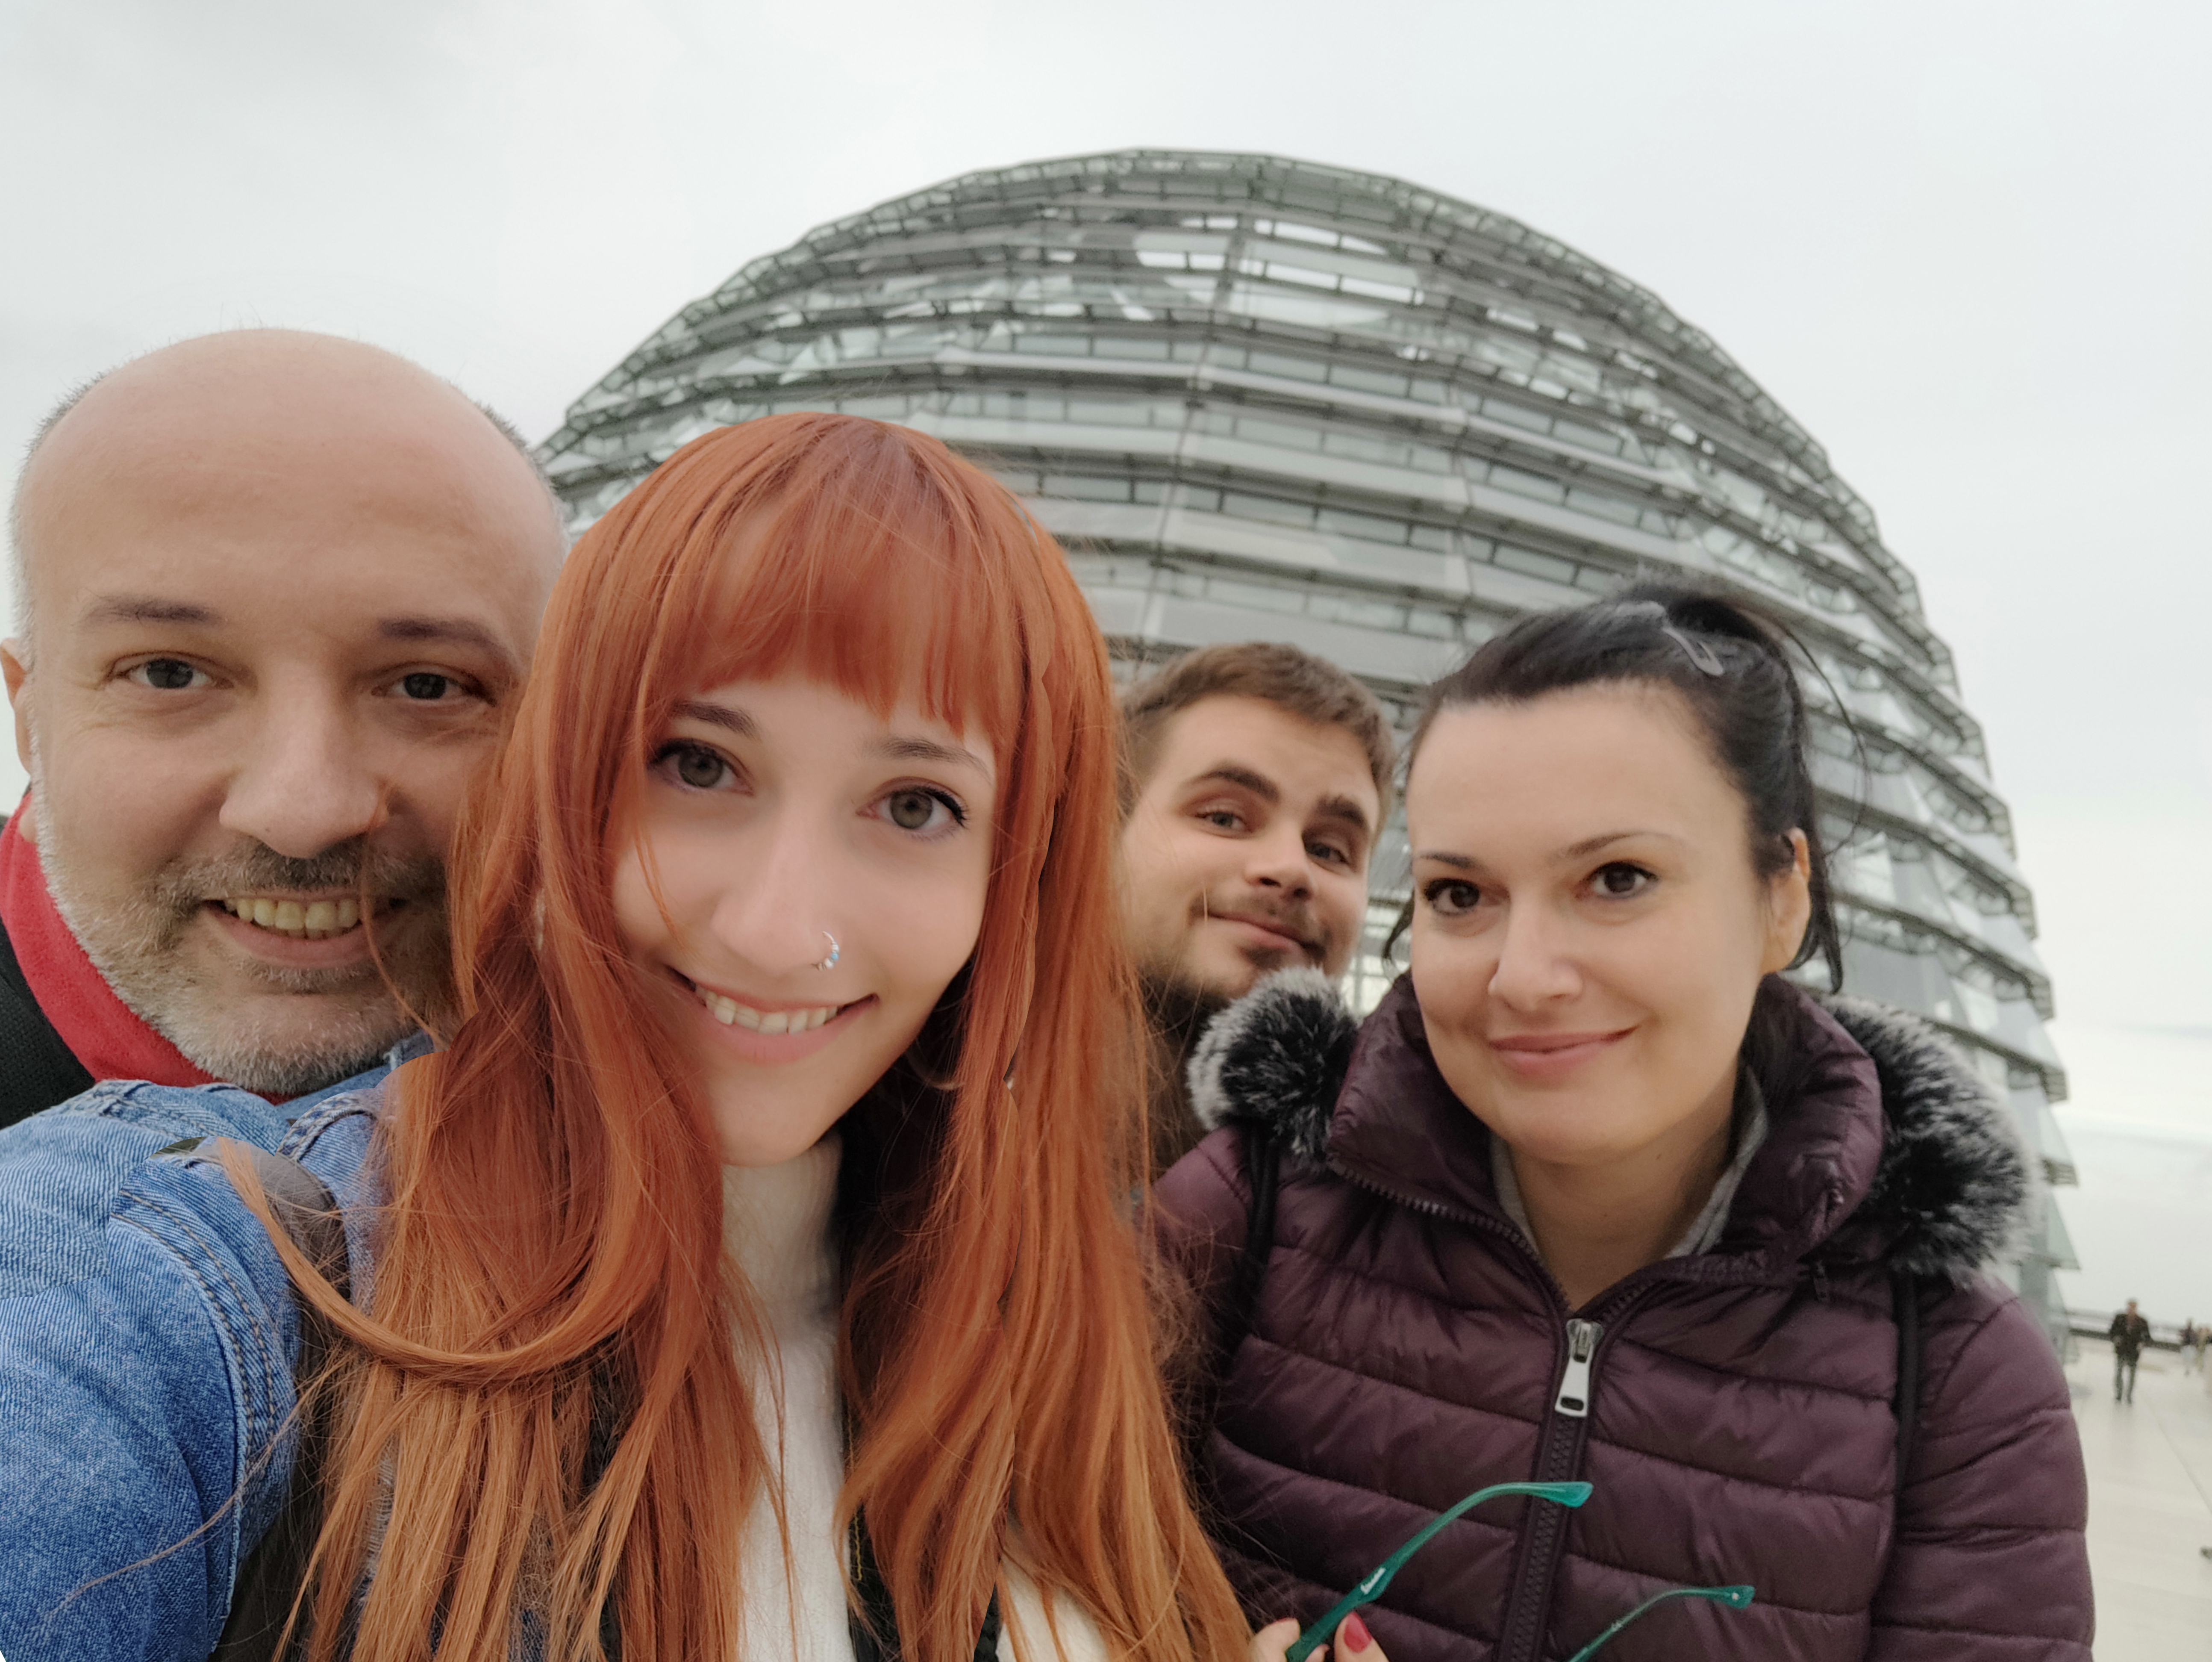
As for Berlin, we did have some free time to go for sightseeing and visit some museums. We visited some of the mainstream attractions like the Brandenburg Gate or East Side Gallery, but we had also the chance to visit some alternative places like C-Base, where our friend Marie gave us a tour, or Teufelsberg, where we did some hiking into the woods carrying laptops with us – who said software engineers can’t do that? 😉
Greek dream team: Stathis, Fani, Pantelis, Eirini
Again, I want to thank Nextcloud and all of the team for this unique experience!
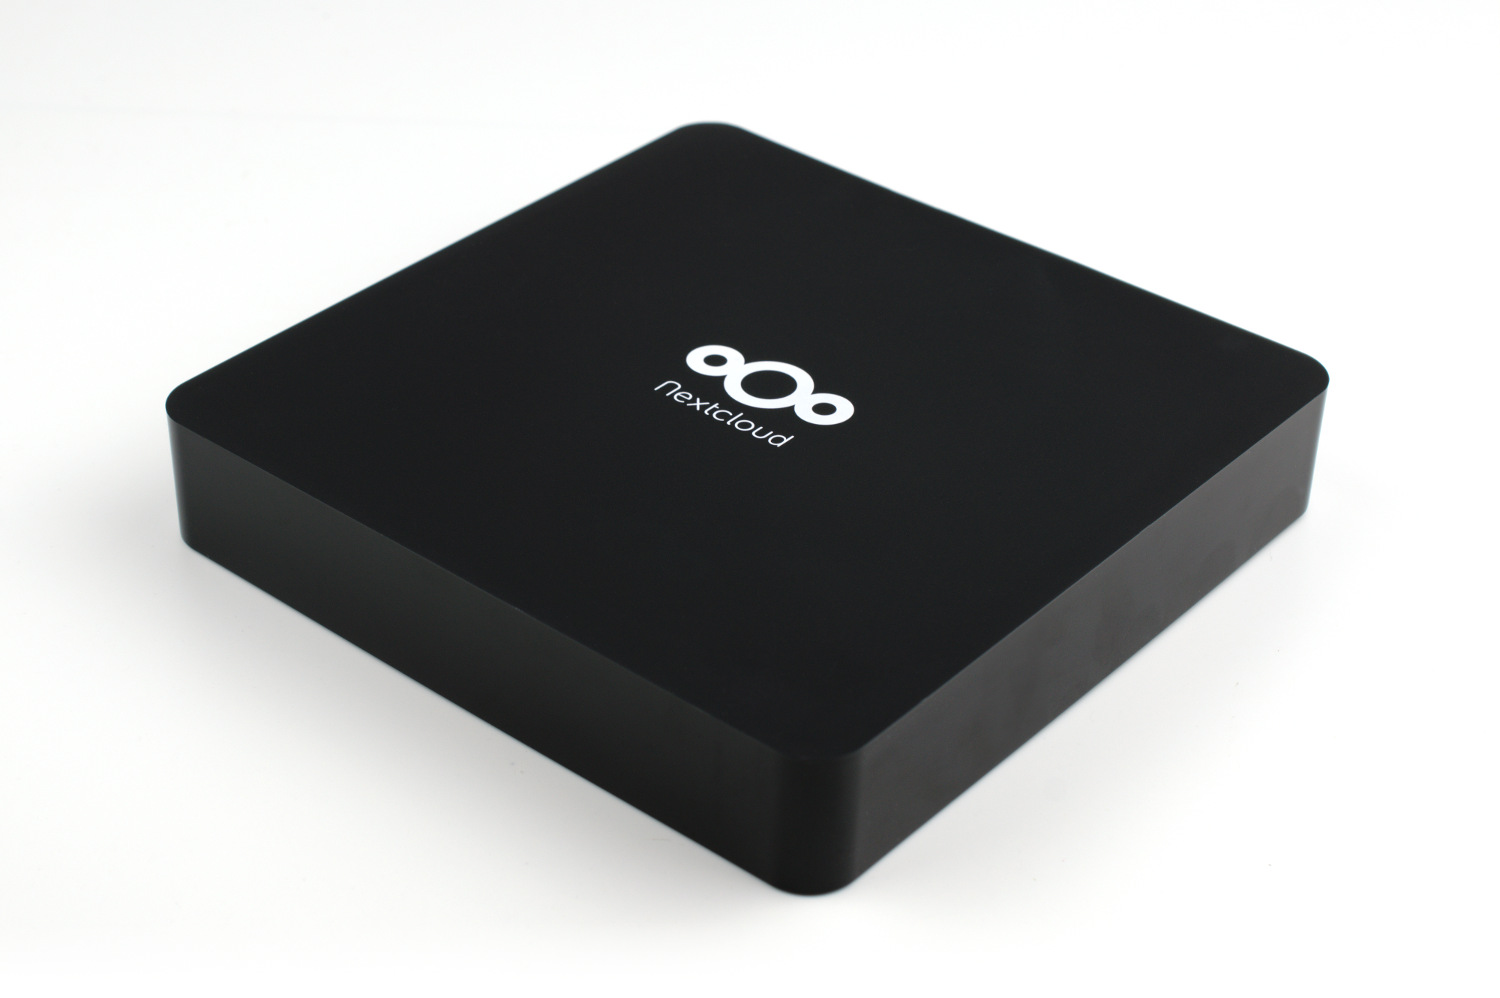
The revival of a Nextcloud Box
1 October 2019
Throughout my work on NextCloudPi, I had to do some testing on the NCP board images. Sooner or later, my Raspberry Pi was on fire, constantly testing different versions and features of NCP. Every now and then I encountered articles about the Nextcloud Box, but when I searched for it I found out that it’s been sold out.
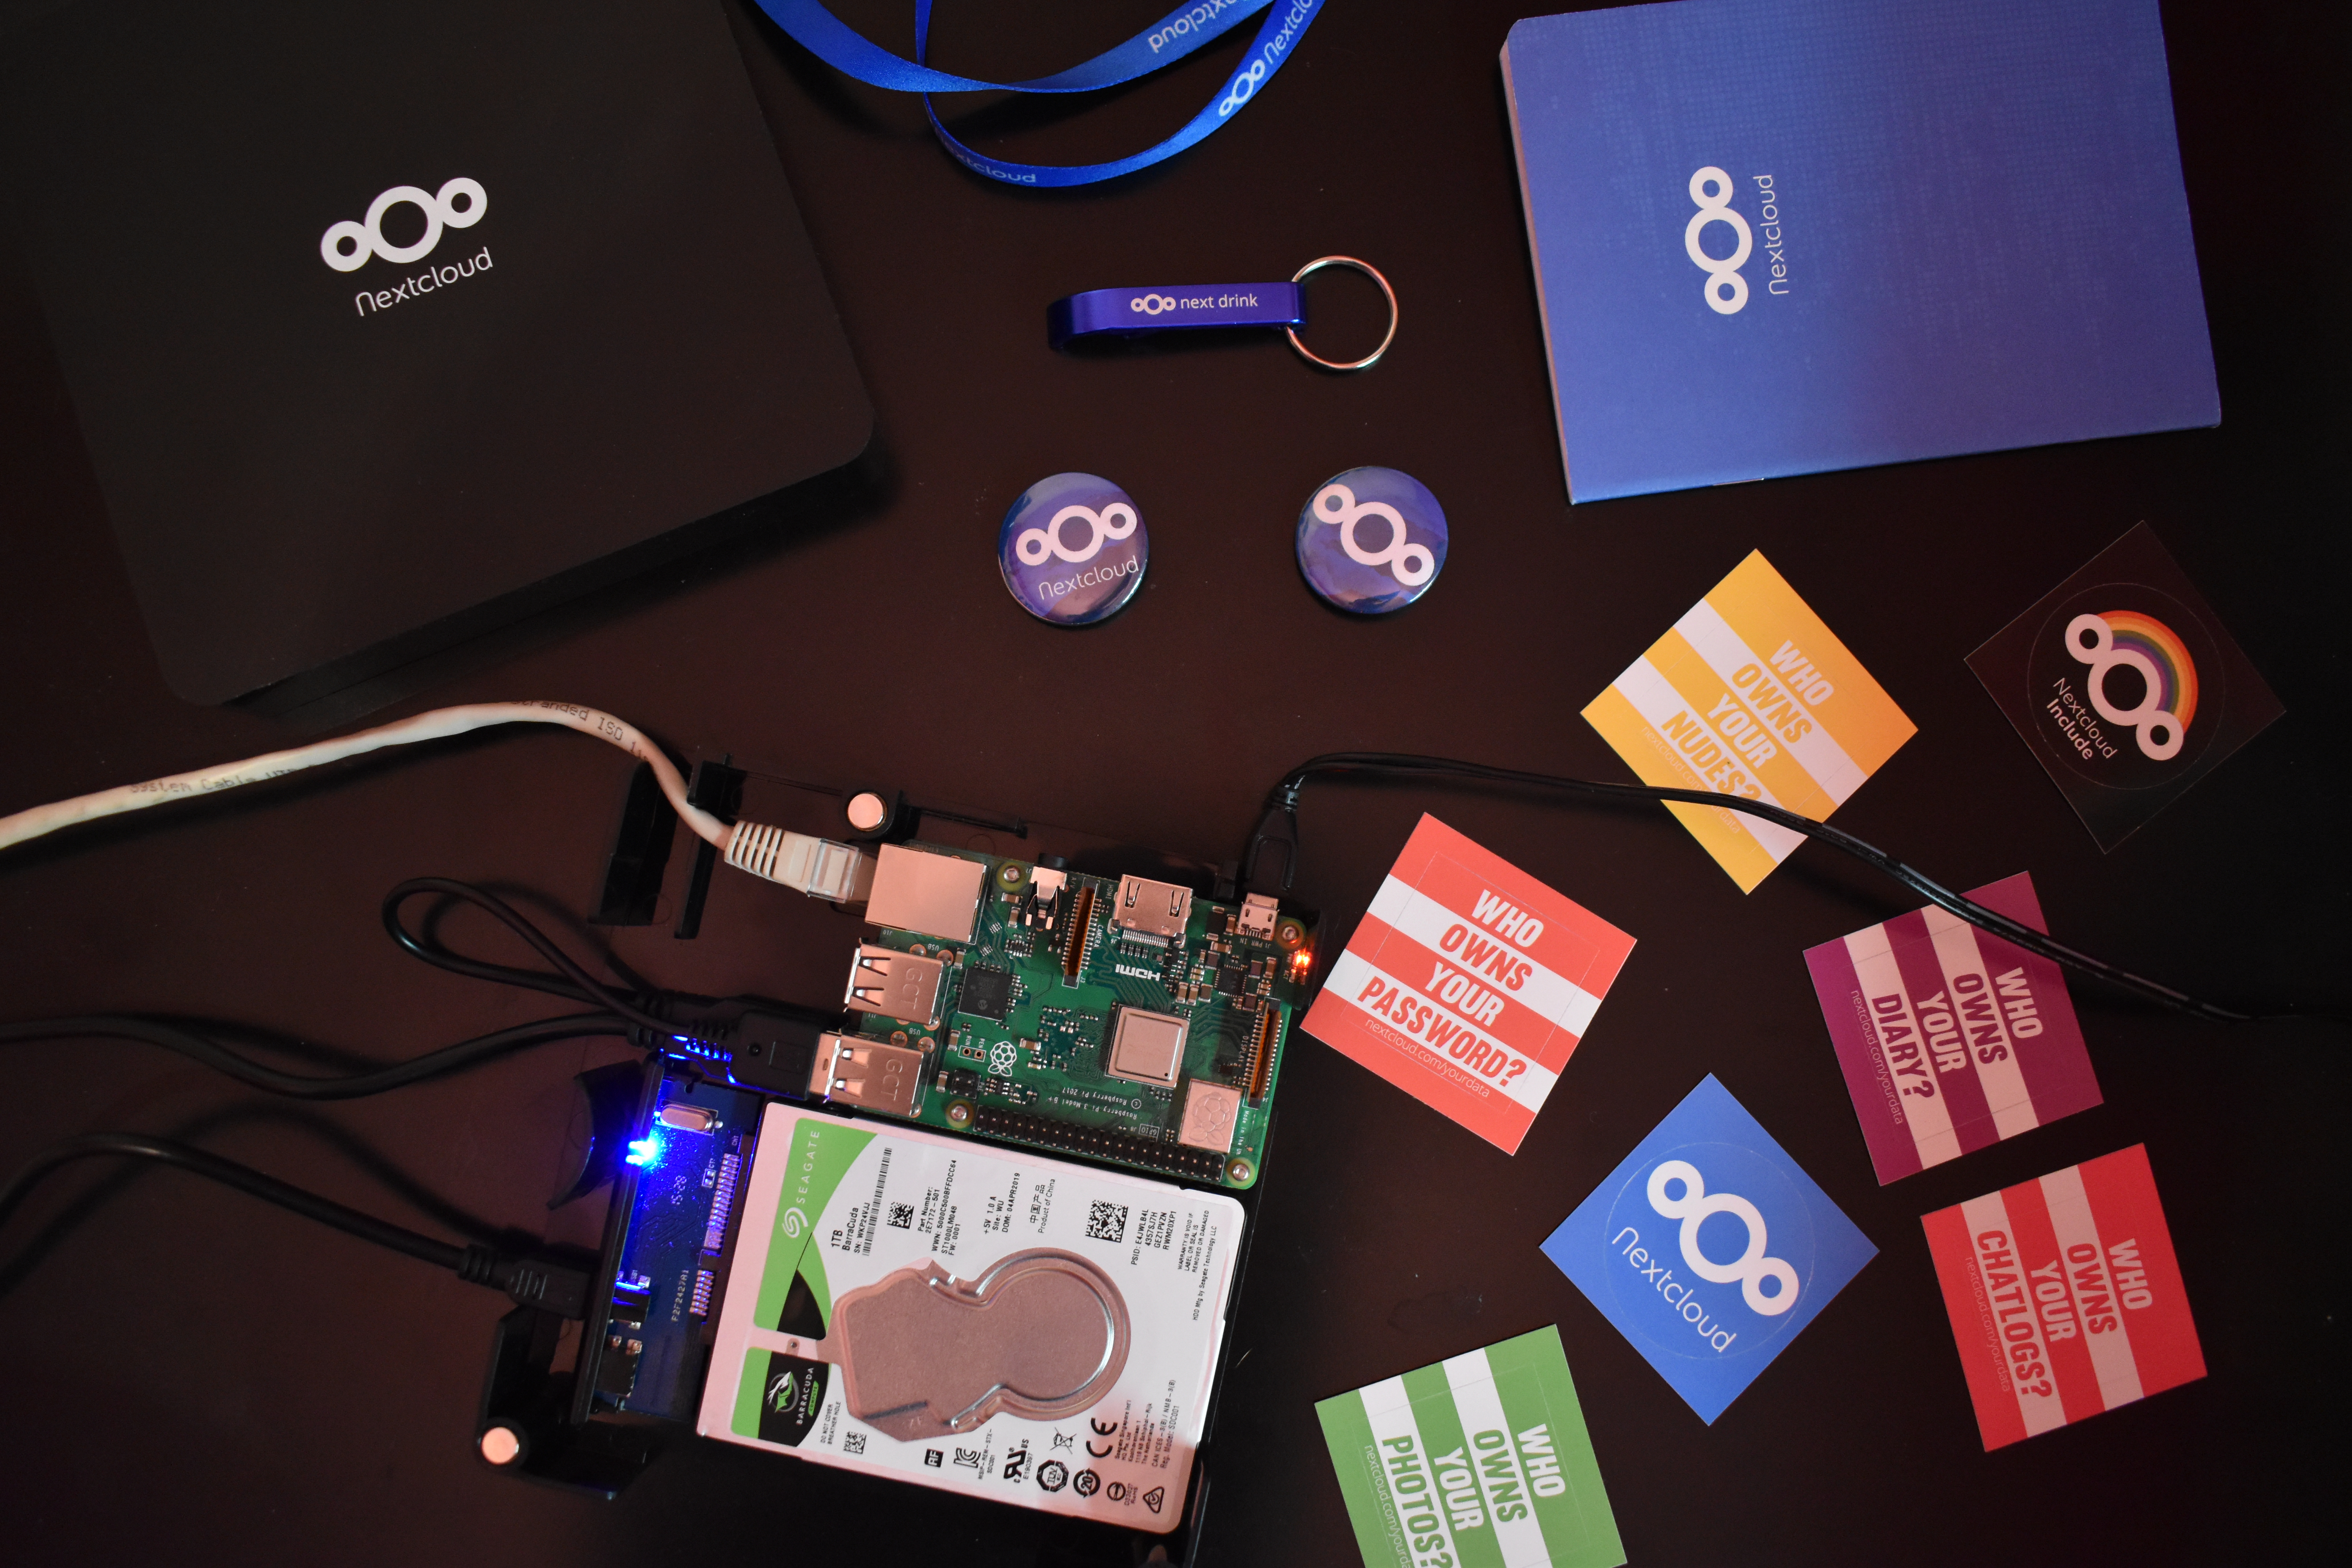
Recently, I visited Berlin to attend the Nextcloud conference and that’s where a Nextcloud Box case fell into my hands (Thanks Jan 🙂 ).
People kept telling me that it’s useless since the specific hard drive it was designed for, does not exist anymore. But as I was pretty grateful for this gift, I promised myself I would make it work no matter what.
Challenge accepted! Let’s solve the mystery of the Nextcloud Box.
The case is designed to house a compute board (Raspberry Pi 2 or 3 or oDroid C2) and a 2.5 inch hard drive.
The hard drive that the Box was originally designed to use is the PiDrive, a Raspberry Pi-optimised USB hard drive. Unfortunately, Western Digital has shut down their research team WDLabs which produced the Box, thus the PiDrive is gone as well.
The main question I had to answer in order to find an alternative to replace the PiDrive was the following: Why use a Raspberry Pi oriented hard drive in the first place? One of the major benefits of Raspberry Pi – except for the price and portability – is that it requires low power: 5.0V +/- 5%. On the other hand, hard drives usually require more power than the Pi can supply, especially as they start (maybe an Amp or more). This could overload things and cause trouble (I learned that the hard way after destroying my RPi’s power supply…). So, what PiDrive actually does is requiring lower power consumption than standard 2.5″ HDD and utilising a custom cable which splits the power input. PiDrive’s cable is used to provide an organized power source and supply the appropriate power to the HDD when connected to a Raspberry Pi board. This cable combined with an external HDD would be the solution to the revival of the Box, but of course it’s sold out too, as the PiDrive itself.
After I figured out that the fundamental key of the PiDrive is the required power, I focused on finding a way to get a regular internal HDD the power it needed. The HDD I picked is a 2.5″ Seagate Barracuda 1TB, which fits perfectly inside the case.
What we definitely need in order to connect the RPI with the HDD is a USB to SATA Adapter. PiDrive is using such an adapter as well but it’s integrated. Personally, as I often lack hardware, I create custom-made solutions. So in my case, I used an adapter of an old HDD case with a mini USB port.
Finding a mini USB to USB cable, seemed to be easy. However, the first attempt didn’t go very well, as I used a cable of a single USB 2.0 connector and this could not deliver the power the HDD needed. As a result, my RPi’s power supply died so..do not try this at home! What did the job, was a cable of two USBs 2.0 connectors (one for power and data, the other for power only) which worked just fine as the HDD could draw power from two USB ports simultaneously.
After replacing the power supply for the RPi, and getting an ethernet cable available, it was time to burn a nextcloud image to the micro SD card. Here comes the NextCloudPi 🙂
NextCloudPi is a Nextcloud instance that is preinstalled and preconfigured, and includes a management interface with all the tools you need to self host your private data in a single package. This is an official open source community project that aims at making it easier for everyone to have control over their own data. You can read more about it here and download the images here.
NextCloudPi constitutes the best solution for the Nextcloud Box as it is implemented to provide an option to store data and create backups directly to a USB drive.
Use balenaEtcher to burn the image to the SD card easily. As soon as you do this, insert the SD card to your compute board and plug in the power supply. The rest comes straightforward by using the wizard on your first run.
The following video shows the setup I described above alltogether.
It looks pretty, right? Let’s use it to test its functionality!
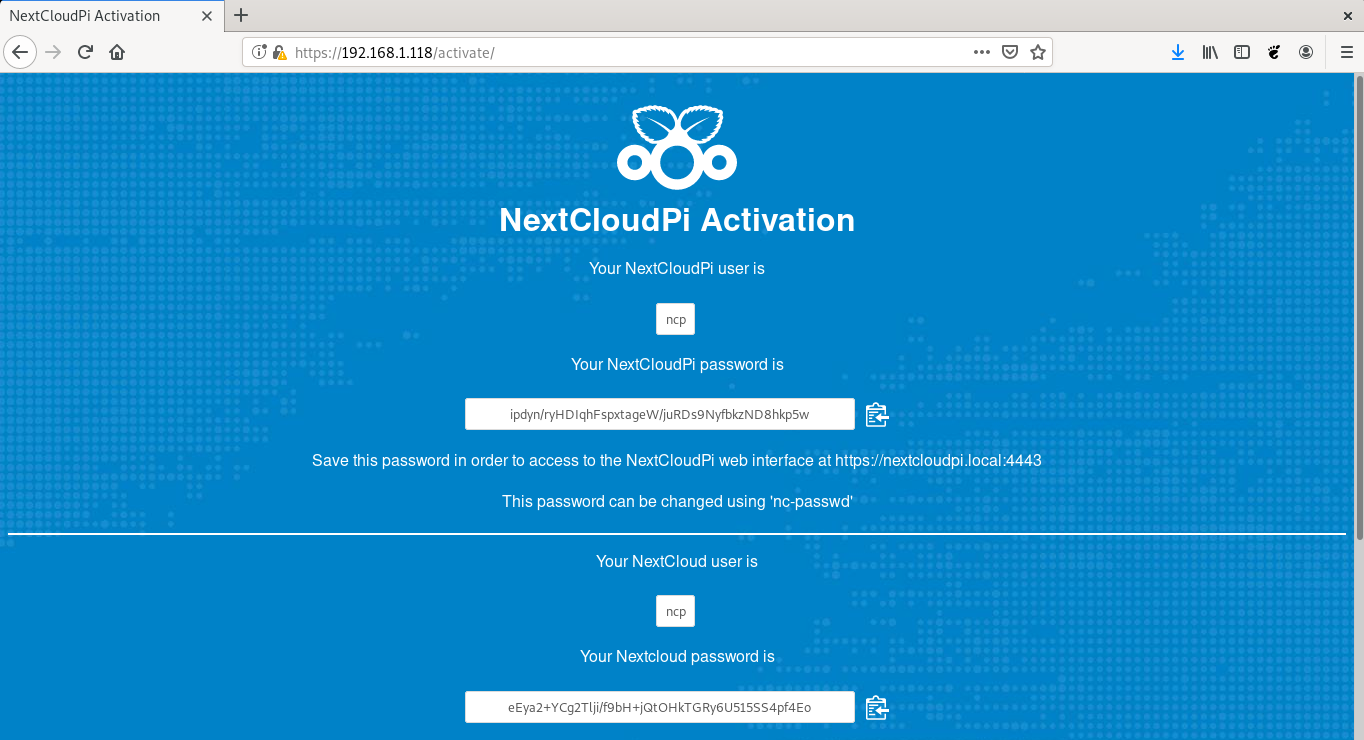
First, make sure that you know the IP address that your RPi is assigned. Then use it to enter NCP’s web interface through your browser. Make sure you get your password’s printed to file and continue to the activation.
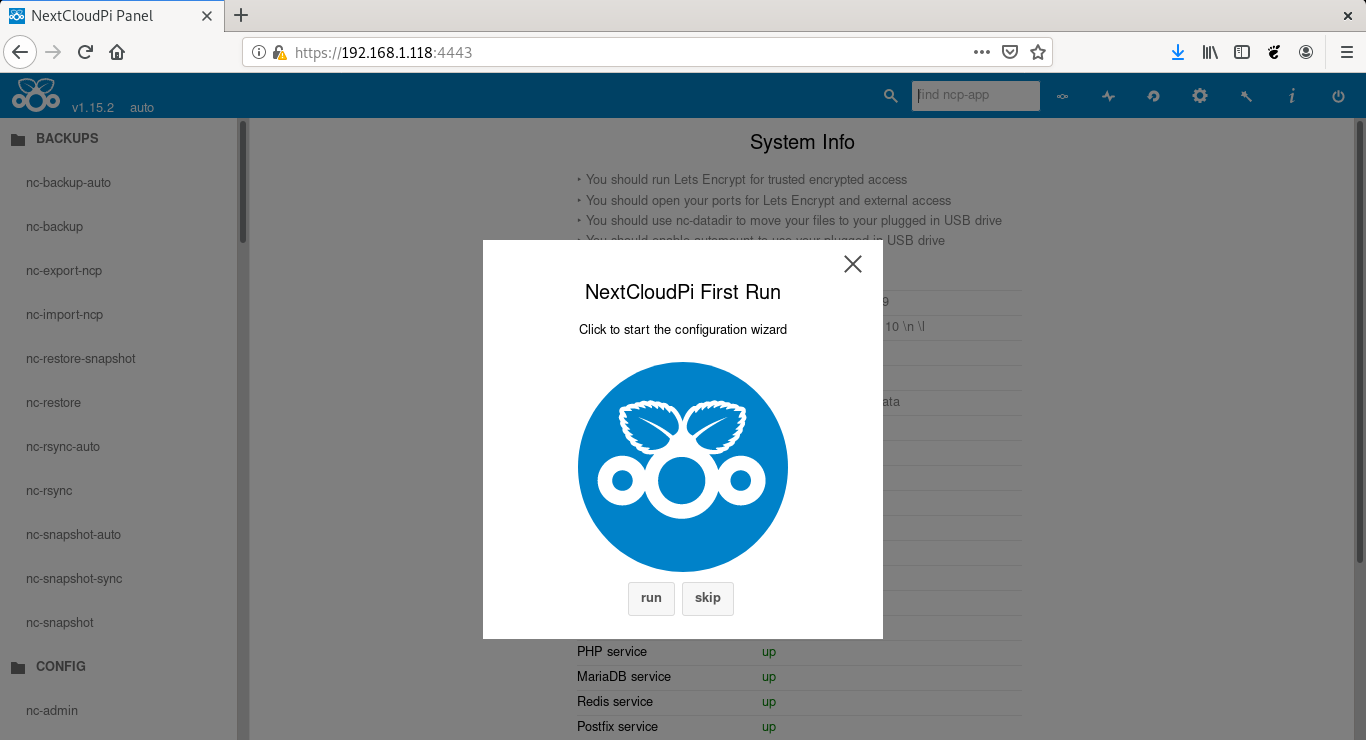
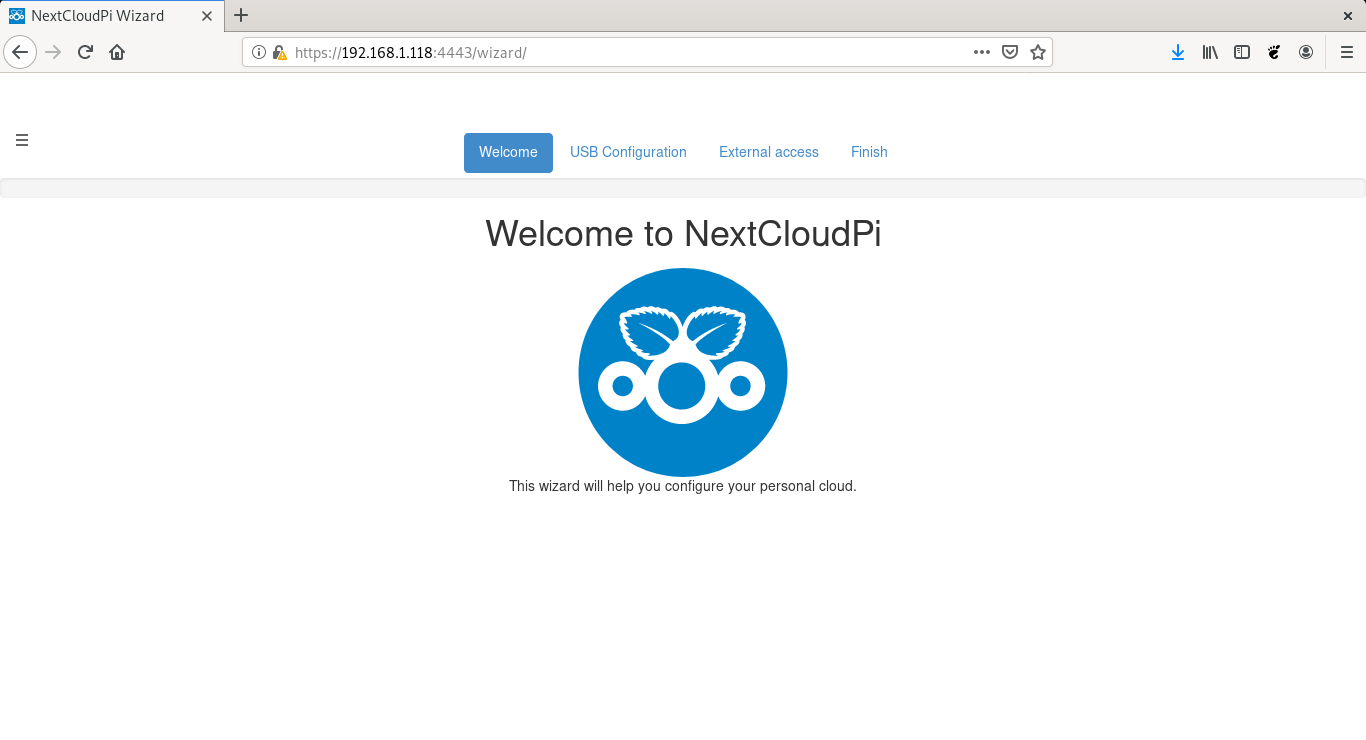
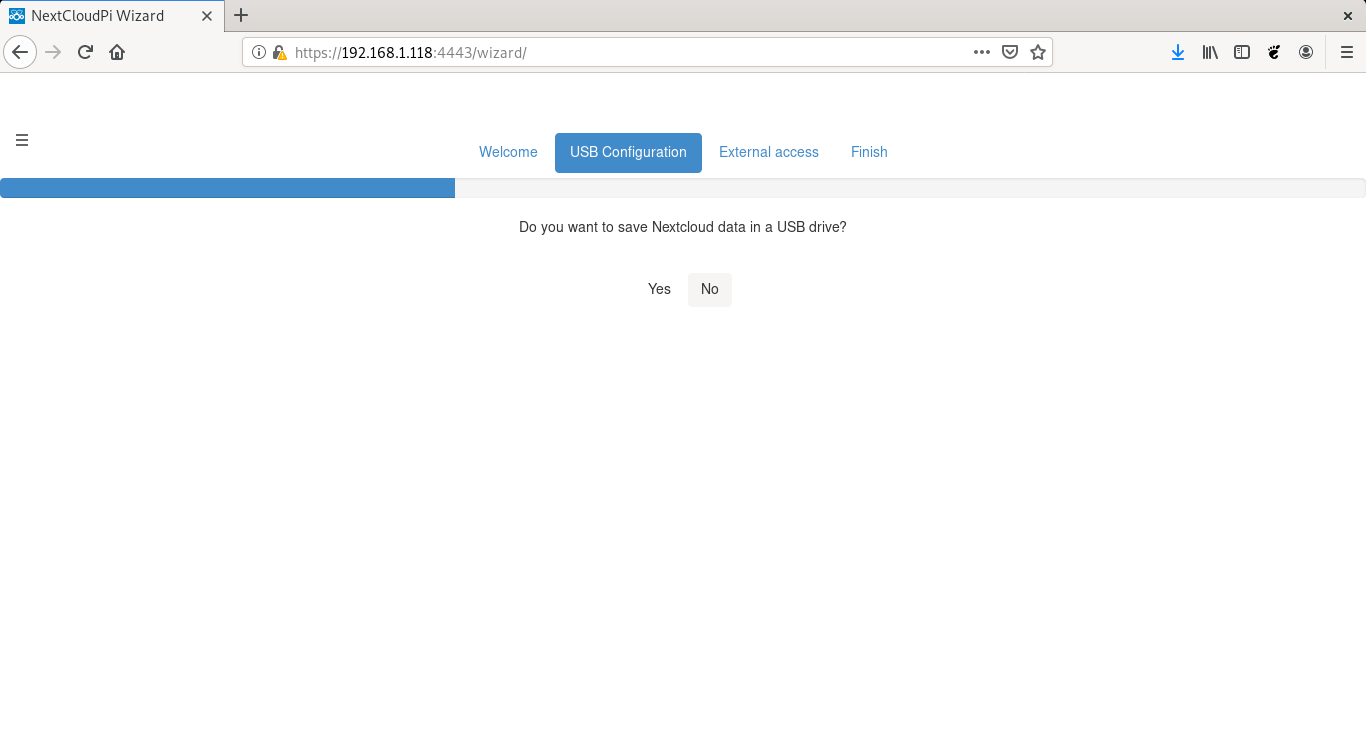
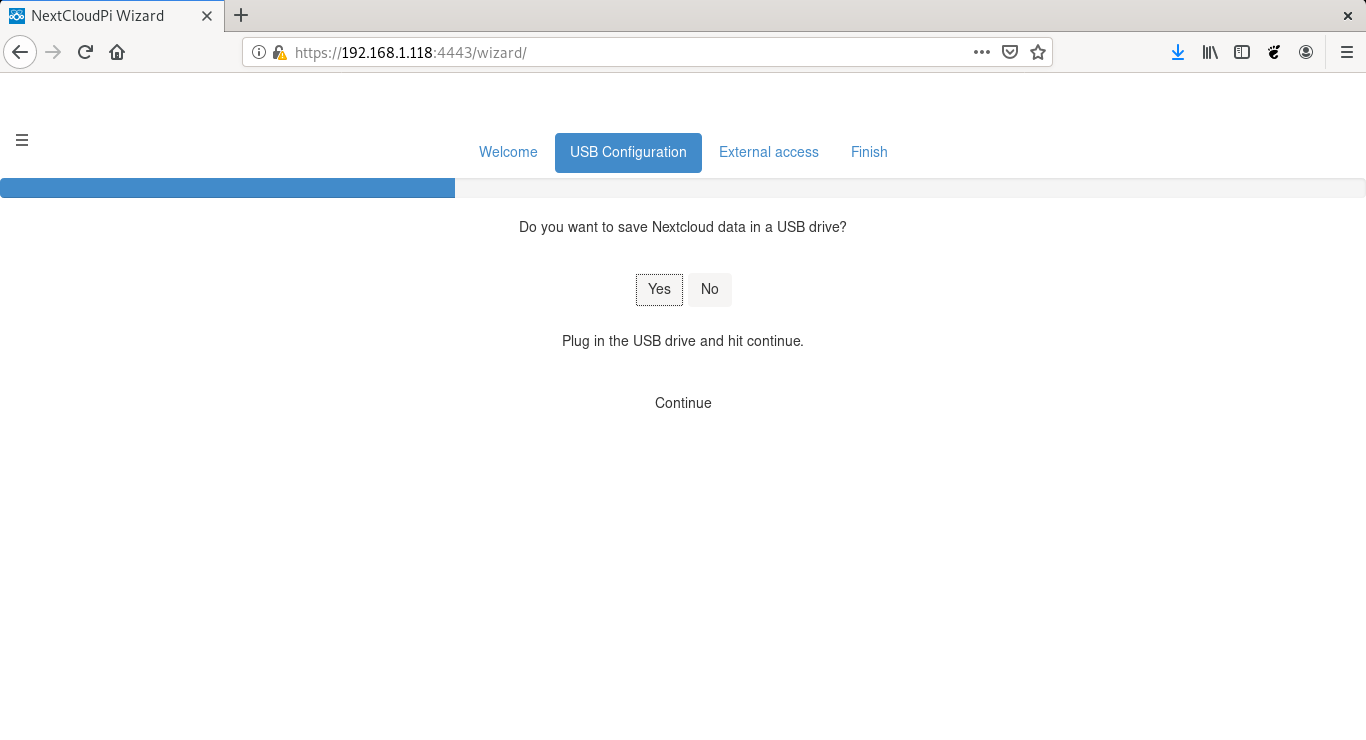
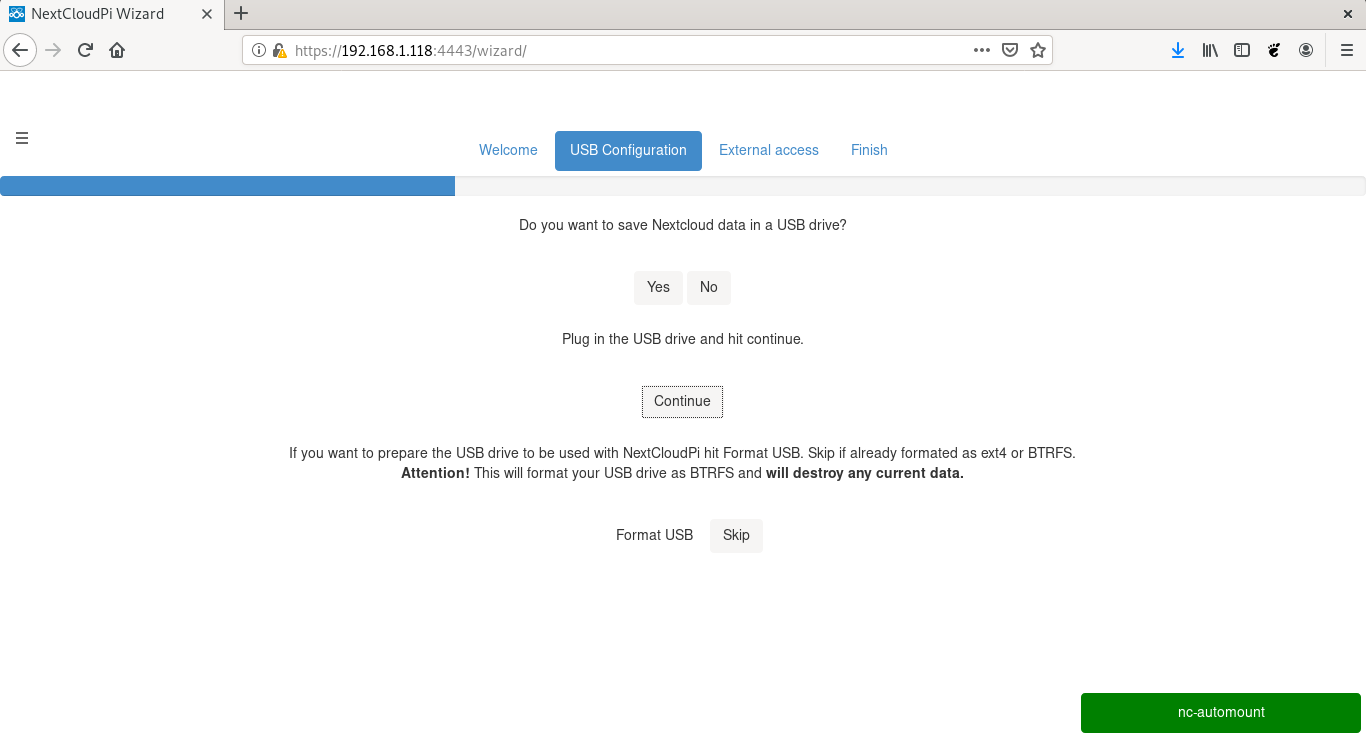
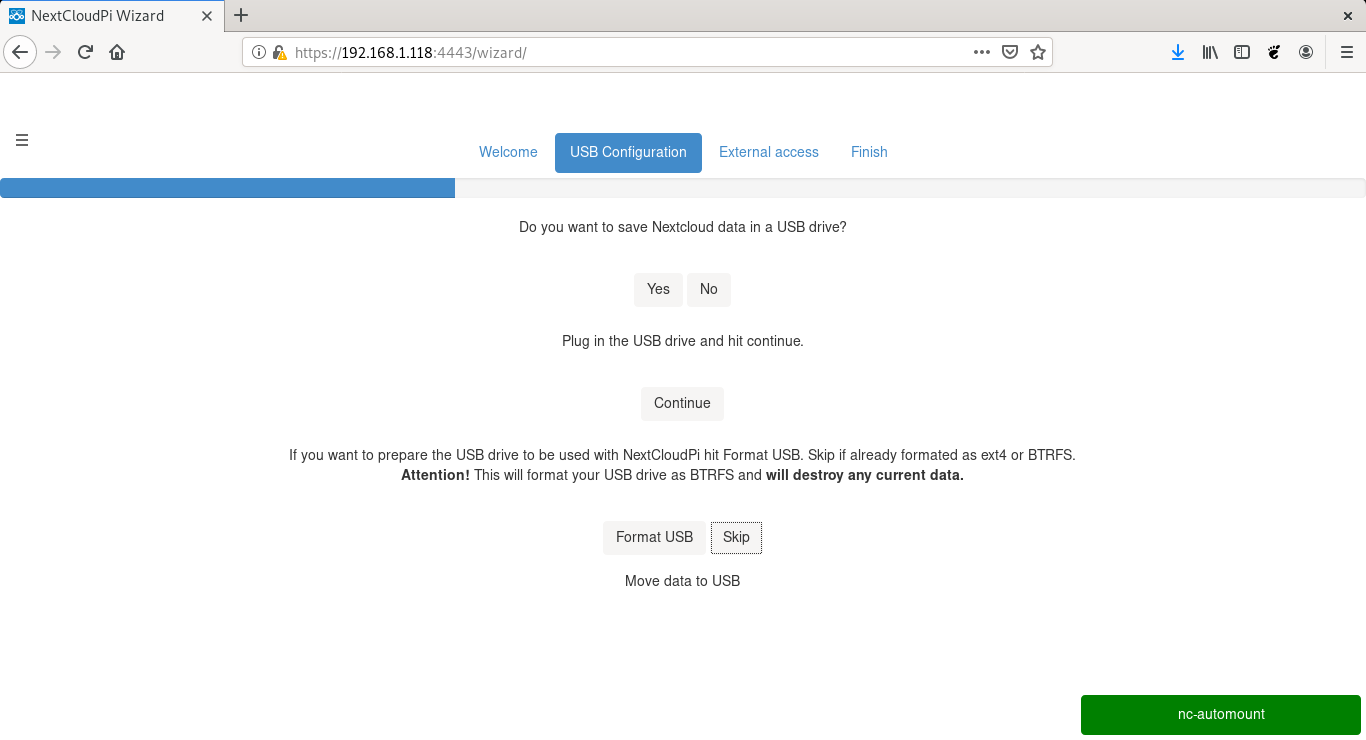
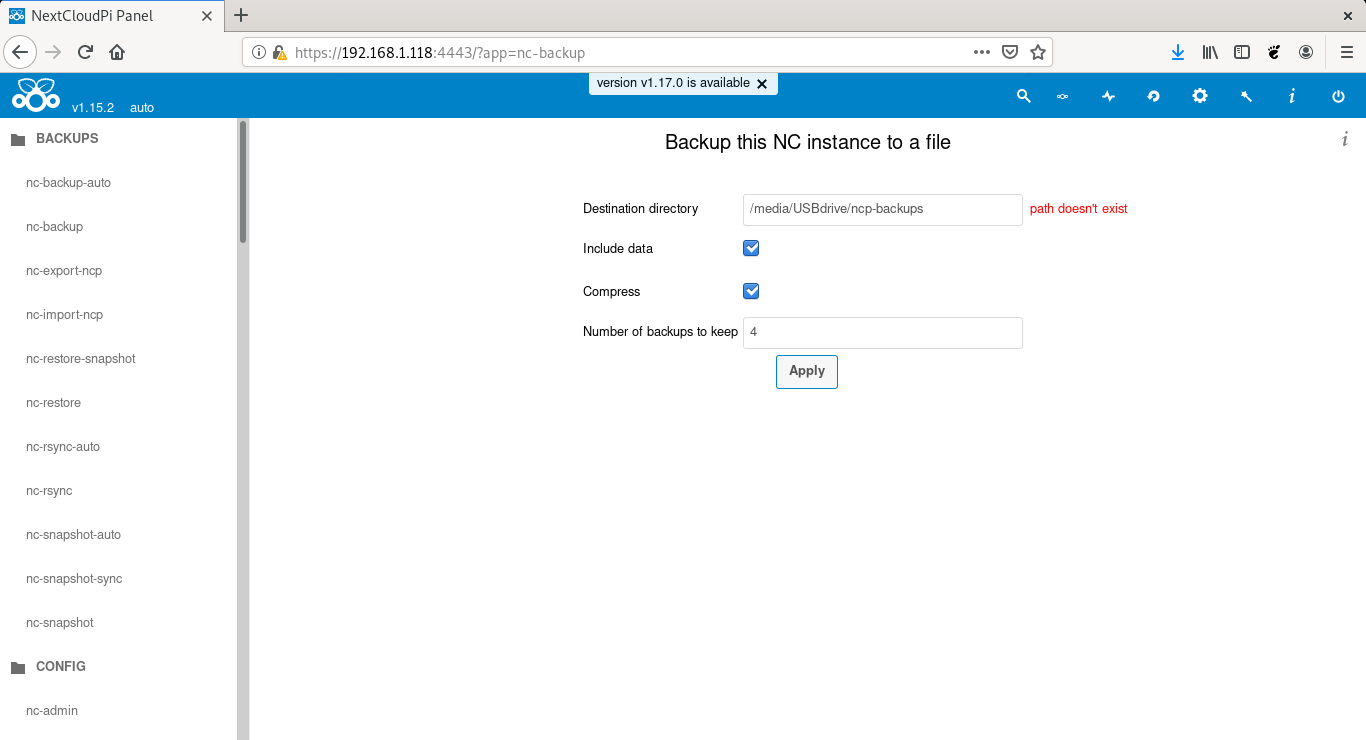
The screenshots below will guide you step by step how to configure your NCP so that it uses the HDD as the data storage.
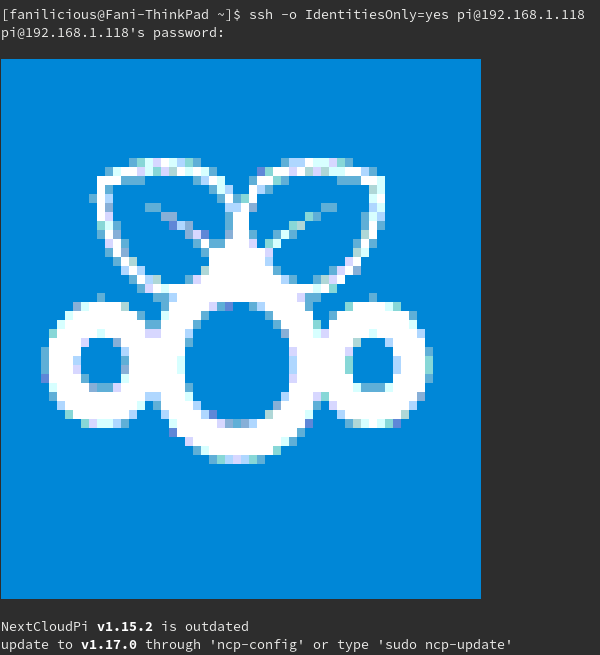
Let’s create a backup and check the drive for its existence. Make sure to enable SSH via NextCloudPi web panel first as it is disabled by default.
Use ssh to enter your RPi and ls the directory mentioned above.
There it is! The backup compressed as asked!
My NCP instance using a USB drive as data storage is ready to be used, perfectly fitted inside this little black box :)